Easy way to make iced-honey!
| Lincoln Land Bee Keepers Association |
|
 The temperature is fluctuating between 35 and 50 on any given day. A bit too cold to open the hive and spend a lot of time with your bees. However, it's a very good time to prepare some sugar patties and pollen patties as a preventative for the bees. I also add a little "Honey-B-Healthy". 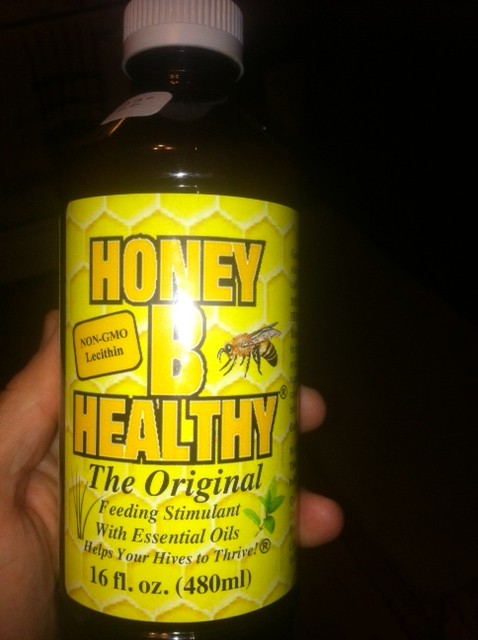 Add some Honey-B-Healthy, to give the girls a boost. It has some essential oils and other good stuff, which has been shown to aid in prevention of tracheal mites. It also smells really good. Elsewhere on the site, you will find a basic recipe for the sugar patties. Basically, you mix a lot of sugar with some Crisco or other Vegetable based shortening, and make some patties with it. Make the patties and put these on wax paper. I do make some slits in the paper to help the bees. You can then cut these to the size you need. Place the patties on the top of the bars of the hive. 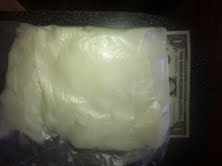 True story: When you mix all this together, it looks like icing. In fact, I had it sitting out on the counter while I went to get some wax paper, and three of my kids tried the "icing". Reports are out that they had fresh breath and no colds for the next several weeks.!
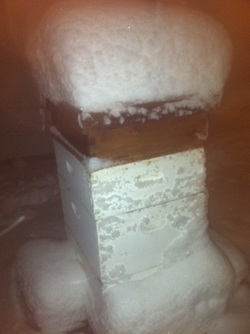
Finally, the shortening in the mix supplies bees with some fat. It is also supposed to help with some cleanliness issues associated with Varroa Mites. As to the pollen patties, I order these. It helps the bees feed whatever brood are gestating, and provides some protein based food for them while we wait for the first pollen of the spring. Again, put these on the top of the bars of the hive. I peel off the paper as these are a bit more sturdy than your sugar patties and less subject to melting. The bees will make quick work of both of these, but why make them chew through the paper? So don't. As with my earlier post on Candy Boards, I may even try to "stick" this patty to the underside of the inner cover. 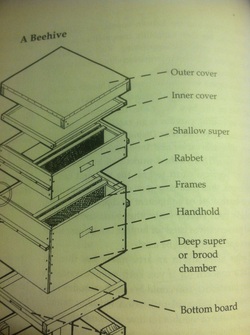 So now you are pretty sure you want to keep bees. And the bee box - called a hive body, looks complicated. But it's not. See the picture on the left. These are the main parts. Most of these are easily made in your wood working shop. Even I can make them with a circular saw, jigsaw, hammer and nails. Okay, maybe a drill too. Plans are easily found on the web. I won't go into each of the parts. And while we do not yet have any plans on the site at this time, I'll see about loading some soon. You may want to check out The Beekeeper's Handbook, 4th, which you can get at Barnes & Noble or Amazon for around $20. I copied this image from page 39 of that book. We may be adding a book store to this site, so check back with us later. 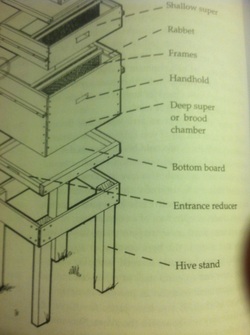 This image shows the lower half of the hive. Many of us do not use a hive stand, and instead use cinder blocks, which are sturdy, easy and cheap. That being said, if you have a stand, put some peach-can-sized containers under each leg, and put some used motor oil in it, which will protect the hive from ants and other critters.  Here's what one of my completed hives looks like. The rough looking ones on the bottom I made from scratch. The nice looking one on top I ordered from one of the bee keeping supply companies.
If you look close you can see how they have a rabbeted corner. Note how this unit sits on cinder blocks, which also sits on a wooden pallet. So, if you are somewhat handy you can probably make your own. But the wooden-ware is not too expensive and is easy to assemble. You can even order a whole "beginners kit" for between $100-$150, depending on what you have in the kit. Have fun, protect your thumbs, and we will see you around the hive! tim |
AuthorTim M (Bee Keeper) Archives
May 2015
Categories
All
|
 RSS Feed